


Over the last six years, I have been using Homebrew, Commercial, and purpose-built music servers and systems. Most of my journey has been documented here in a rather helter-skelter fashion. In 2021 I have settled down on what I think is a great starting place for the technician hobbyist. It is now my goto system that, to my ear, sounds FABULOUS!
This should not scare anyone away; it is not hard to set up! I claim no invention rights here. I studied, I played, I built, and I am listening…
There are a few things you will need to get started:
A PC, or Mac computer, If you are on Linux, you are already halfway there!. You will need a good internet connection to download software and, of course, connect to music services in the cloud. The computer will need to have an SD card reader as we will be using MicroSD cards.
Some familiarity with the terminal programs, SSH, Ping, and; yes, there may be evil, dreaded command-line work here. Again NO FEAR, please! Your favorite search engine will help you through this. As well, there are a lot of folks here on the forum that will help.
You will have to spend some money on hardware; you will need a bit of temporary space to assemble goodies!
NOTE: All of my servers and streamers are connected by Ethernet. I have a phobia about using wireless in audio systems. You may have to learn how to route, hide cabling in your house! It is not that hard to do in “most homes.” You may need a network switch to accommodate this.
Here are examples of systems I am using:
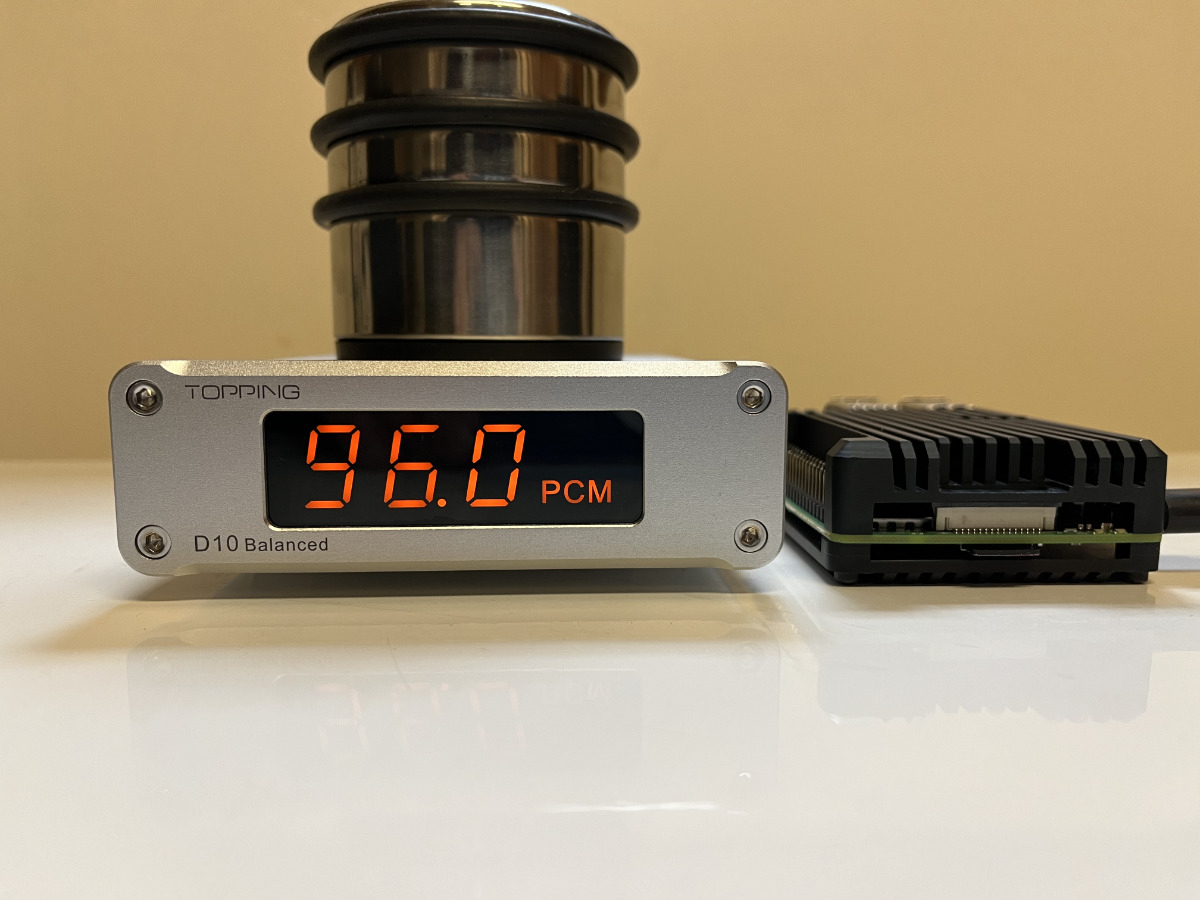
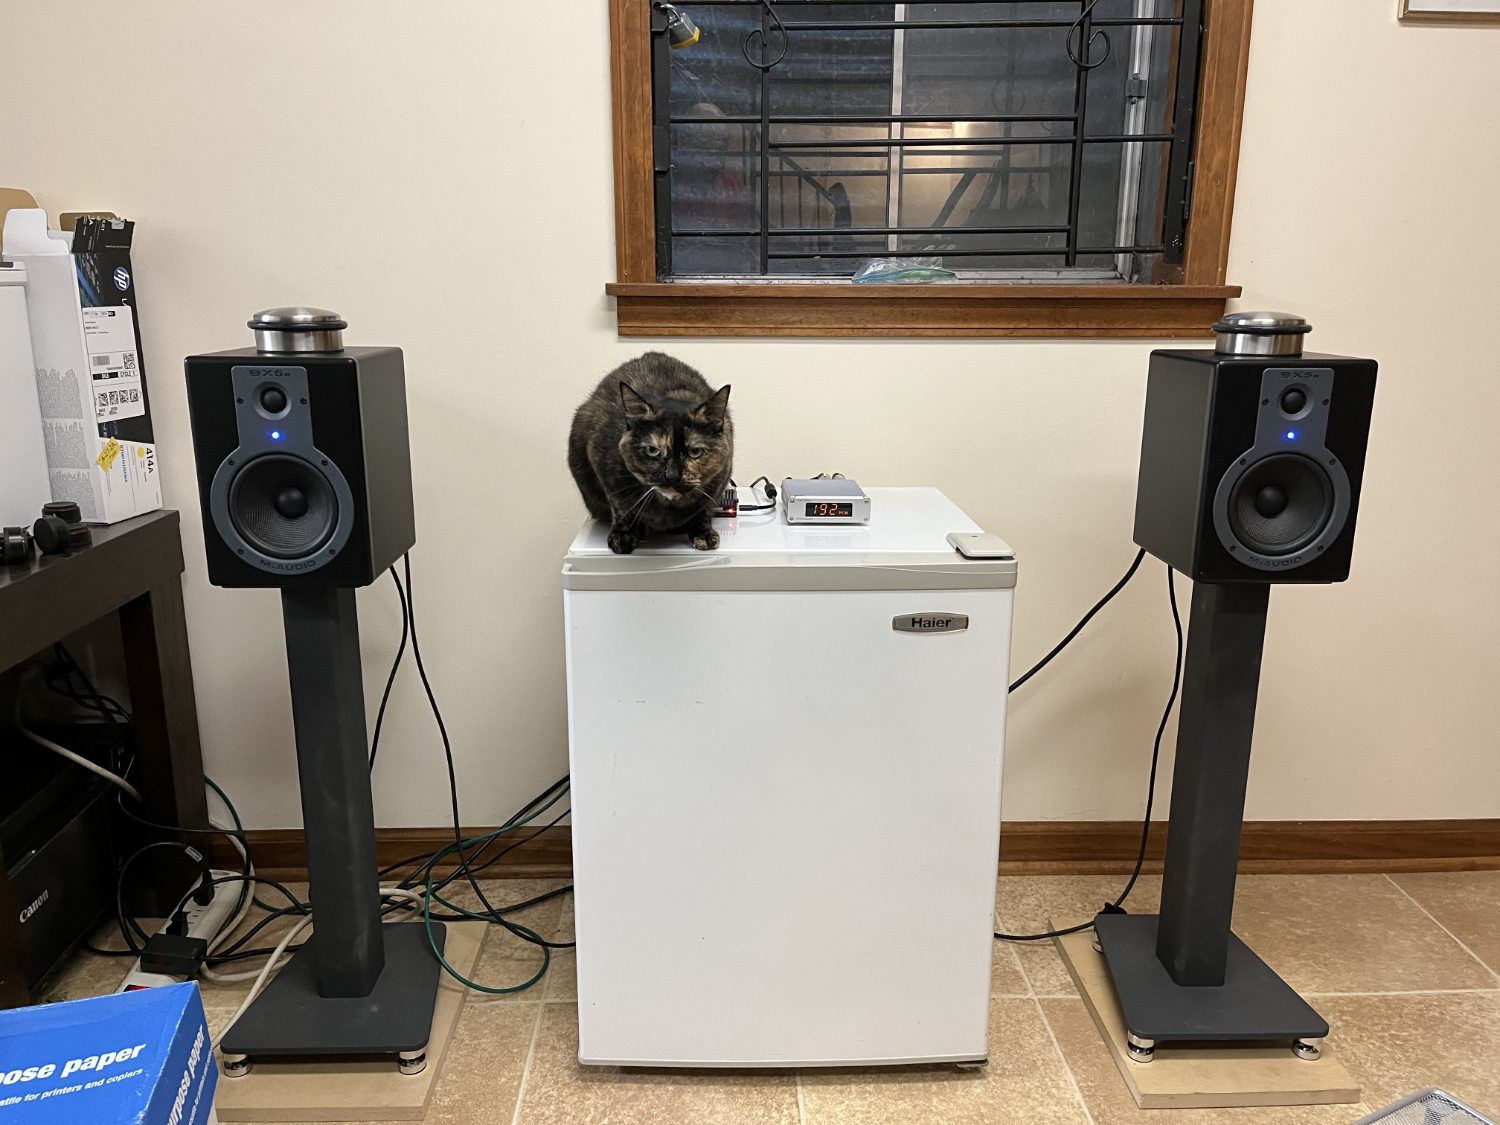
I will assume that you have a DAC, some amplification, and speakers or headphones! Nothing extravagant! I am using a Topping D10Bal into a pair of in-expensive powered studio monitors as a system in my basement.
- Pi4 in a passively cooled case
- Topping D10Bal $150
- Schiit Audio USB cable
- Two Balanced cables $150 (I used Mogami Gold) Save money for now and use Amazon Basics
- Two Powered Studio speakers Total $400. Mine are older M-Audio BX5a models!
- A power strip to plug the system into.
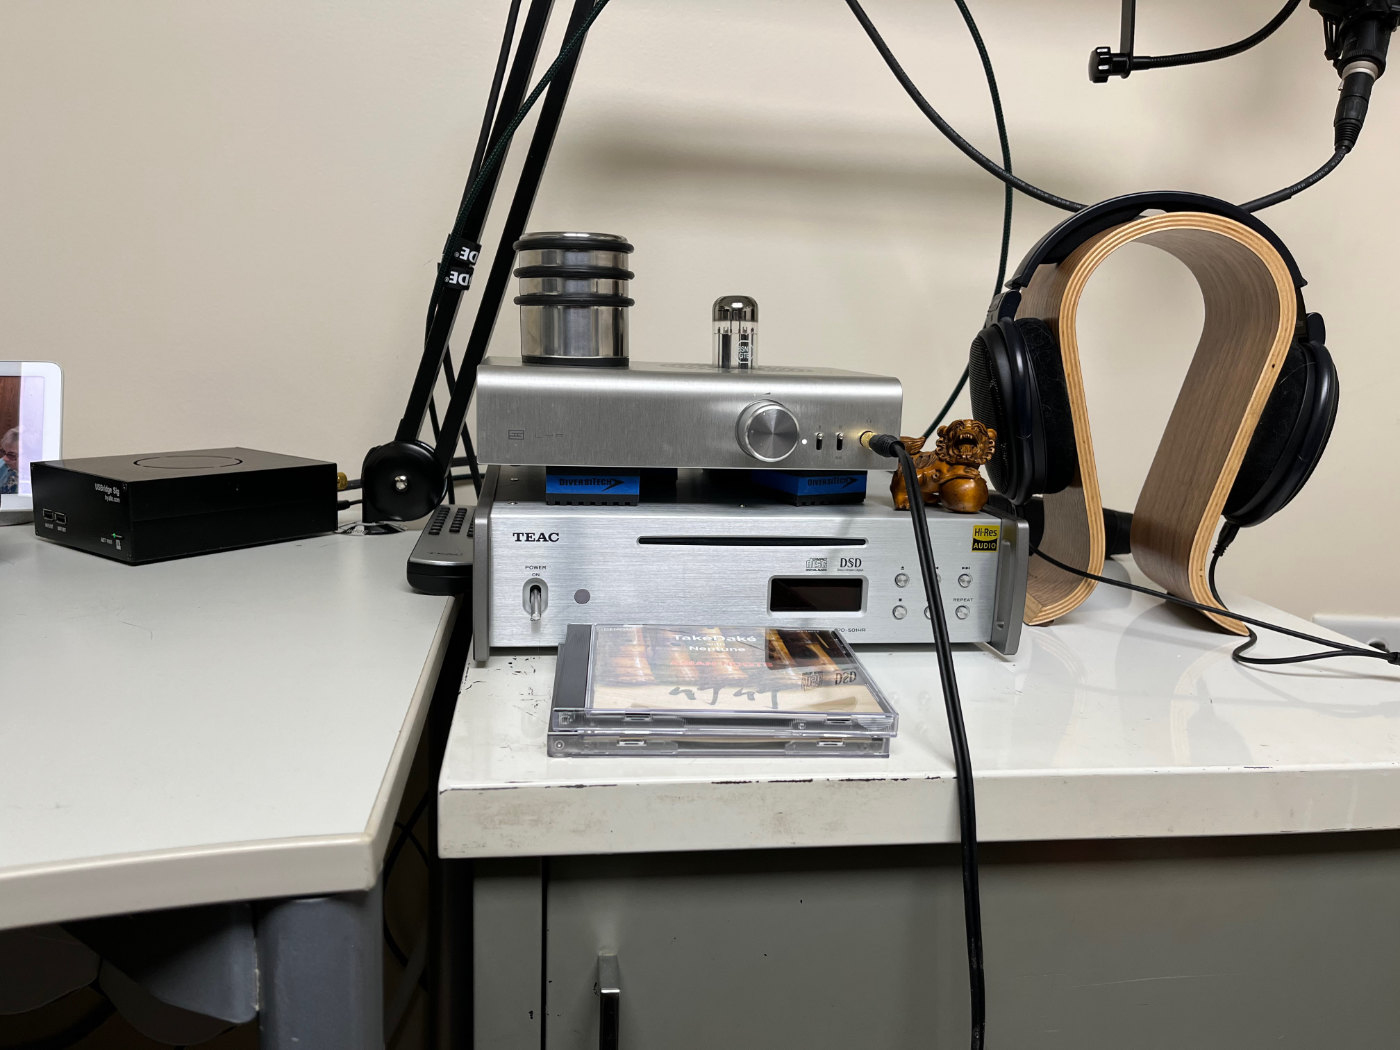
My headphone system is An Allo USBridge Sig with Shanti supply to a Schiit Lyr-3 with Multibit DAC in my office. I like the Massdrop HD6xx headphones for the money spent. There is a Transparent HP USB cable and Puritan Audio Laboratories AC cables. This also lets me play with a bit of tube-rolling! I have a Teac CD player connected to the unbalanced inputs of the Lyr-3 for the fun of it.
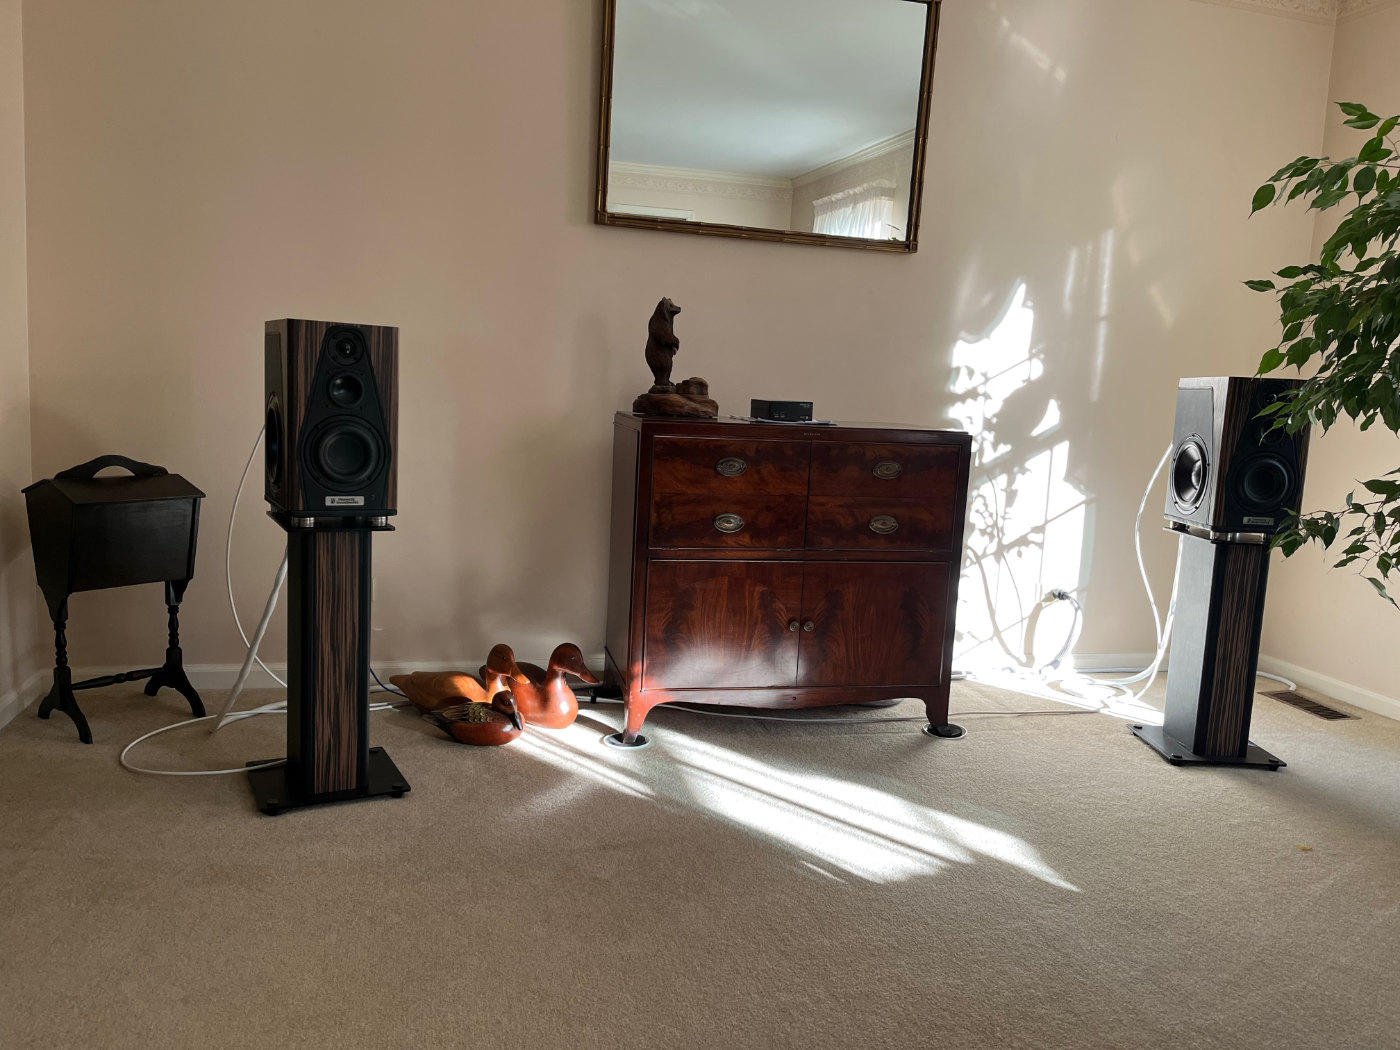
This system is a bit more on the advanced side! In my Living Room is what I call my “Performance Listening” system with a pair of Heavenly Soundworks Five Seventeen speakers on their stands with IsoAcoustic isolators under the speakers. A Pi4 is powered by an Allo Shanti supply with a LUSH^3 cable to a MUTEC MC-3 + USB DDC. I am still fussing over AES cables, but there is a Mogami one on the system for now; I need three meters, and that is a budgetary problem.
AC power is all Puritan Audio Laboratories. I am using their standard cables for the speakers and the Shanti. The wall to the PSM156 and from the PSM156 to the Mutec is their Ultimate cables.
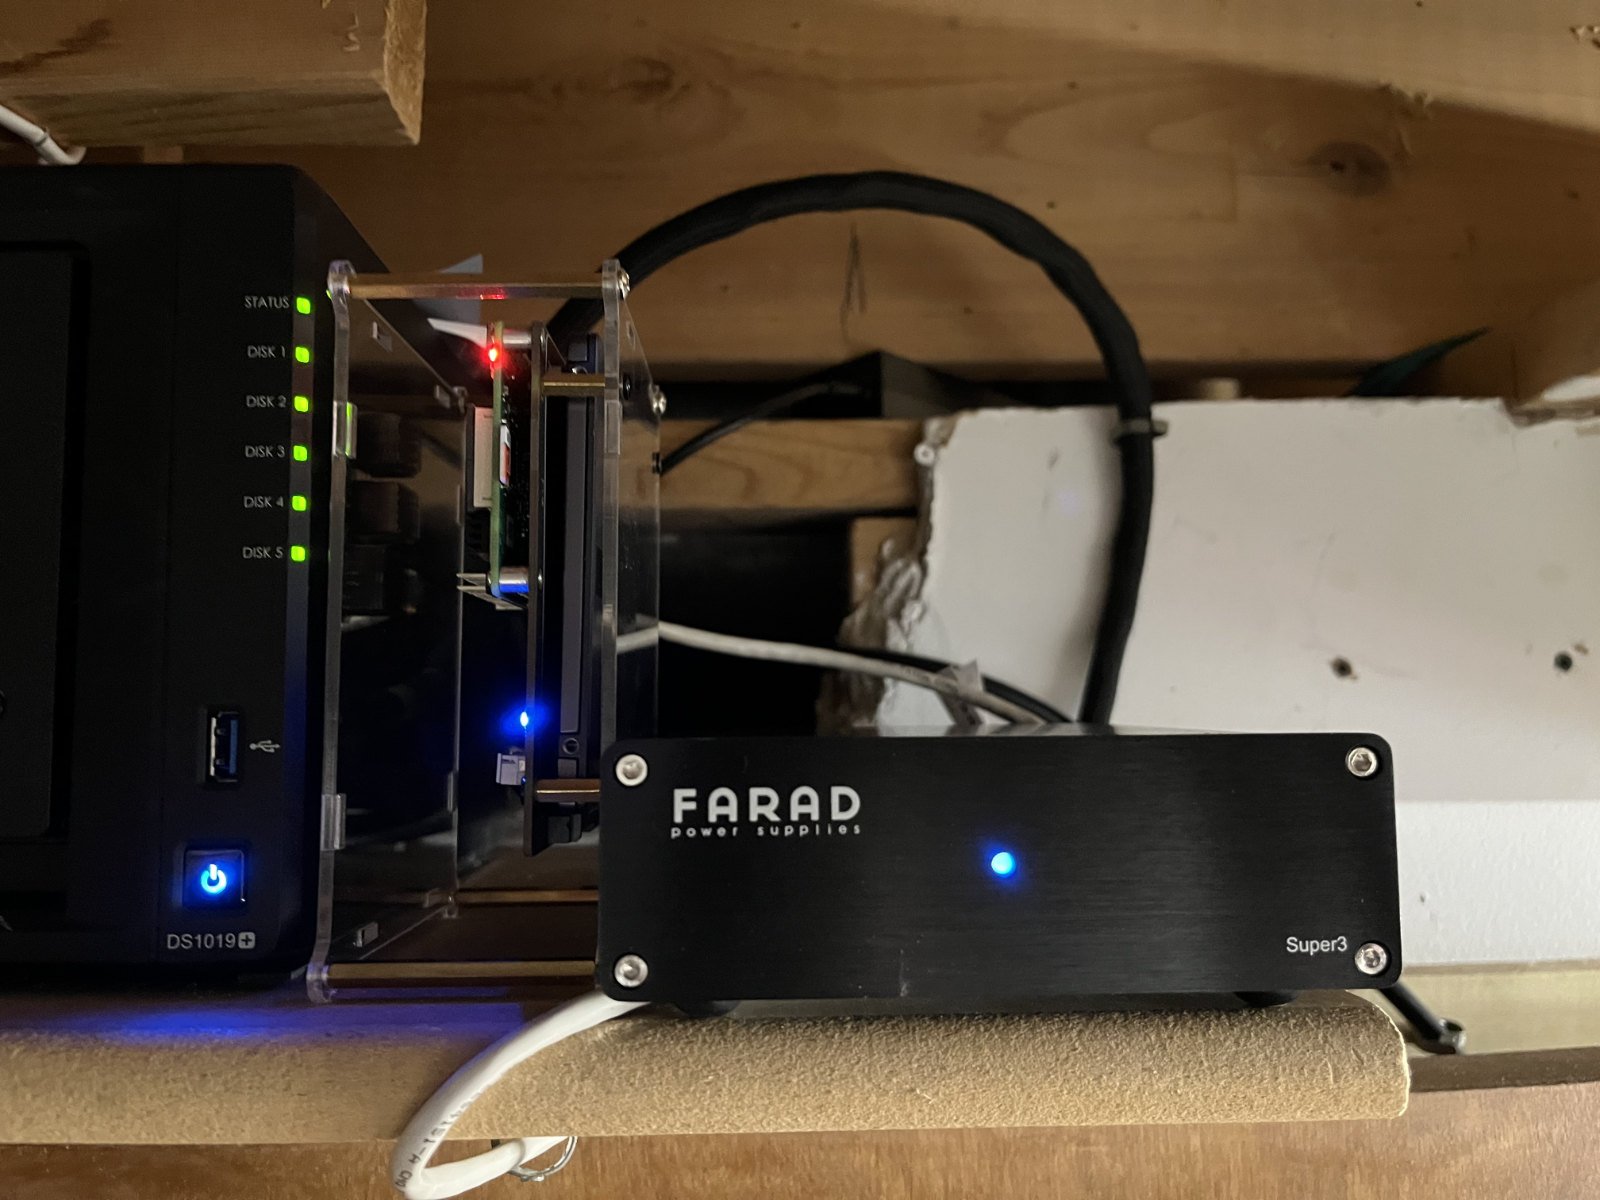
My LMS server is a Pi4 8Gb with a 4TB SSD onboard, powered by a Farad Super 3 LPS. The server sits next to my NAS. There is a Puritan power cord to a Transparent P2 on the AC side of things.
Bob’s Rules
- As I mentioned above, I do not use wireless networks for the infrastructure. The control systems are acceptable on wireless; iPhone, iPad, laptop, etc.
- Over multiple iterations, I have found that separate server and streamer designs make for the best sound and are the most flexible. I am continuing that here.
- I treat the system as an appliance, the master music files are stored elsewhere, and copies are kept on the server.
- I have used file servers and NAS devices and abandoned them as part of the playback system to reduce network traffic and server compute loading.
- In the long run, Power Supplies can make an essential difference in sound quality. I find that supplies with super-capacitor outputs; fascinating.
- Interconnect cabling also makes a difference.
- I work hard to eliminate fans.
- Software is the king of sound quality. It breaks sound quality by just being there. The less of it, the better.
- Finally, support Open Source software. This project runs on it! FOSS forever, baby!
The Hard Part
Now comes the challenging part of this problem: Sourcing Components. With everyone buying face masks and TP, the pandemic, economic turmoil, and parts shortages getting what we need for this project can be a problem. In this case, Amazon is not your friend as the markups there have been rather painful. Look around first.
The Server Hardware
- $75 Raspberry Pi 4 (I use one with 8BG RAM, but I think 4GB will be fine)
- $15 Start with a 5.1v 3.5A wall wart supply. It will be fine for now.
- $15 Get a 32GB MicroSD card. Samsung, SanDisk are two brands I trust, From a reputable supplier.
- $??? 2.5 in SSD for music storage
- $30 GeekPi Storage Expansion
I am using the case that fits the daughterboard I purchased. You can use just about anything. Make it passive cooling to eliminate fans.
***I am using a daughterboard for my server that holds a 4TB SSD. The Pi4 attaches to the top of the board, and the SSD goes on the bottom. This board has a barrel connector to power both devices. That has been working well for me, but I am using a different power supply. To start with, a simple USB — SATA interface will do. This is the board I am using: GeeekPi Raspberry Pi 4 SATA Storage
Here is my YouTube presentation on the server setup:
The Streamer Hardware
$55 Raspberry Pi 4 4GB.
$15 Start with a 5.1v 3.5A wall-wart supply.
Get a 32GB MicroSD card
Get a case of your choice, passively cooled.
I am in the middle of testing a couple of HAT boards, so the case issues are not settled yet.
At this point, the streamer is USB out only. My primary listening system, the Heavenly Soundworks Five Seventeen speakers, does not have a USB in. I will talk about this in a bit.
Looking around the Internet here in the USA, I like the following suppliers: Canakit, PiShop
*** You may have to buy from multiple suppliers to get two Pi4’s ***
The Software, all of it!
Hang on to your hats, folks; this is a lot of observation, some assumption, and a few wild-ass guesses.
What I think I know from observations. When software is running, it draws power, and it makes more electrical noise in the computer; Study EMC and RFI and TEMPEST. How does any of this affect sound quality? I say badly. Bob’s axiom: Less software means less noise.
What this means to me is eliminating as much software as possible. No to Windows, No to MacOS, no to Roon, Audirvanna, and the like.
To make digital music work we need some software. Let me talk about operating systems for the Raspberry Pi, my computer of choice for this task. In my review of the Allo USBridge Sig, I tried several OS variants for sound quality, useability, and some flexibility. To name a few, Moode, Volumio, Ropee, Ropee XL, Diet Pi, and a couple of others. Some are dedicated players; some are just streamers. With this hardware, you can do the same evaluations I did, at the cost of your time, a few microSD cards, and some internet bandwidth. There is a lot of fun to be had. And a little bit of pain.
What I discovered this summer is PiCorePlayer which is built on Tiny Core Linux. PCP is a version of Tiny Core Linux designed explicitly for the Raspberry Pi to run Squeezelite players, and you guessed it, Logitech Media Server. Oops, I gave away the punch line.
Tiny Core Linux runs in RAM, and a desktop system is less than 16Mb! Read their concepts here: http://tinycorelinux.net/concepts.html
Oh well, let me finish with a bit more. PiCorePlayer is a headless OS. You do not use a keyboard, mouse, and display. See their website for more info: https://www.picoreplayer.org. By default, it is set up to be ethernet-connected and respond to a web browser's commands using the URL. http://pcp.local. One of the core tenants for better sound is running the OS in RAM and loading the music tracks there for playback.
PiCorePlayer started as Squeezelite only but has recently been updated to install LMS (Logitech Media Server ). In case you are wondering, I have done some basic testing. I can make the whole system sound better by keeping LMS on a separate Pi4.
Why LMS and Squeezelite?
I have a lifetime license for Roon, Two Euphony OS licenses, a year of Audirvanna Studio, and two Windows 10 Pro licenses. Why would I not use any of the above on all the hardware I have hanging around? Because I have NEVER BEEN ABLE to make it sound as good or be as stable as two tiny Raspberry Pi 4 computers! My theorem is that there is just too much software running in any of those other systems. When LMS and Squeezebox were developed, there was not a lot of overhead to spare in the processing system. The code was simpler!
There is more to the story. That is the time and effort that many people have spent developing and maintaining the open-source software projects keeping this code running on all the newer hardware. There is a very active forum for all of the software I am using.
https://forums.slimdevices.com
This is the Squeezebox forum, and the PiCorePlayer folks have a little corner there too! Sorry not everything has as much Style as Audiophile Style
The Setup Process
I would start with getting all of the “stuff” you need in one place—the Pi 4 hardware, a couple of spare network drops, your laptop or desktop computer. For Mac or Windows, download a copy of Balena Etcher software used to write the operating system on the microSD card for the Raspberry Pi. The OS I am using for this is PiCorePlayer. Download the 64 Bit version for the Pi4
The team over at PiCorePlayer has documented the process for flashing the MicroSD card. I suggest you follow their process: https://docs.picoreplayer.org/getting-started/
Carefully insert the microSD card into one of the Pi 4’s, then connect ethernet and power. You will see the red LED come on and, for 15 seconds or so of the green disk activity LED flashing.
Open a web browser on your computer and enter the URL http://pcp.local. The user interface for PiCorePlayer should show up. Look around, but relax for now. You can unplug the first Pi and set up the second Pi the same way.
Time for a celebration! The hard work is done. Oh, wait, you want to play music…. Well, I guess there is more to do.
Before I restart the narrative, I want to give you some links to hang on to.
https://forums.slimdevices.com
https://forums.slimdevices.com/forumdisplay.php?27-Logitech-Media-Server
Now that you know that both of your Pi4 computers are up and running, I suggest you connect them to their actual operating locations. Put the streamer in the system hook up network, USB, and Power.
Find a nice safe corner for the LMS Pi 4 and hook it up to network and power.
If you open http://pcp.local on your computer web browser, you will see two tabs with the two different machines ready to be worked on.
It is configuration time. I could tell you that I spent weeks figuring out all the nuances, but that would be a fib. Yes, I poked around a lot, but I also started using the internet to help me.
So here we go:
I like to name my devices both for display in LMS and for web access. In the Squeezelite settings, change the name of your player as you see fit. Click the save box to save changes.
In the Tweaks, menu set the hostname to something you will remember and click the save button.
Before I go on, I want to thank @seetooyou for pointing me at a couple of targeted websites about PiCorePlayer.
See more here: https://audiophilestyle.com/forums/topic/64086-a-short-introduction-to-tiny-core-linux/?tab=comments#comment-1161667
Klaus, the author of soundcheck-audio on blogger, has written an audio streaming series that takes up the reasons for the Pi, setup process, and much much more. This is my PCP setup bible.
The main blog is here: https://soundcheck-audio.blogspot.com
This first segment is an introduction to the reasons for using the Pi4: https://soundcheck-audio.blogspot.com/p/soundchecks-tass-intro.html
Background and setup of PiCorePlayer as a streamer: https://soundcheck-audio.blogspot.com/p/in-part-2-of-project-i-address-setup-of.html
Setup of Logitech Media Server Klaus does not show layout on PiCorePlayer. https://soundcheck-audio.blogspot.com/p/the-streaming-server.html
Squeezelite settings for PiCorePlayer. Note that in a later post, a couple of the settings suggested here change. https://soundcheck-audio.blogspot.com/p/in-part-3-of-audio-engine-series-id.html
This is a well-thought-out segment on networking, with testing using iperf and more. This is a good read, but running Ethernet on modern hardware should eliminate a lot of the mess. Go here if you have issues with your network, want to use wireless, etc. https://soundcheck-audio.blogspot.com/p/the-net.html
This is the beginning of the advanced setup. I would hold off on this and make sure that you have working music playback first: https://soundcheck-audio.blogspot.com/p/the-rpi-audio-streaming-series-advanced.html
This is the next advanced segment talking about soundcheck’s custom Squeezelite version. You will want this for sure. Read this and wait just a bit for more on sKit below: https://soundcheck-audio.blogspot.com/p/the-engine.html
This is an extensive section on sample rate conversion. I would suggest you avoid this if you are getting started: https://soundcheck-audio.blogspot.com/p/the-converter.html
This is the segment that stopped me from hunting for the perfect LMS control point app. Material Skin and any old web browser, WINS. This is a must-read and setup:https://soundcheck-audio.blogspot.com/p/the-controller.html
This is a guide to DSD streaming. Two out of the three streamers I have will not play DSD. I am segmenting the few albums I have out and ensuring I have PCM versions: https://soundcheck-audio.blogspot.com/p/the-rpi-audio-streaming-series-dsd.html
This segment was written in August of ’21 and is the core to making PiCore Player Streaming sing. This is only about the client, not LMS! You could trust Klaus and a lot of other folks and start and finish here. Do everything in this little article to your PCP-based Squeezelite player, and you should be pleased: https://soundcheck-audio.blogspot.com/p/the-skit-pcp.html
Next, there is an exciting series of posts and software on a non-English forum that Google Translate will get you through it. I am still learning to understand what is going on here.
https://www.stsd99.com/phpBB3/viewtopic.php?p=20179#p20179
I have yet to test the different software variants suggested here. It is high on my “round-to-it” list.
AC Power
I have done a lot of structured and unstructured testing of power supplies. As I said above, I am happy with Super Capacitor output supplies. UpTone LPS-1.2, Allo Shanti, and Farad Super 3 are all in the stable! For example, I started on the LMS server with the Canakit standard wall-wart supply. I then migrated to an HDPLEX 200W LPS. With the change over to using the MUTEC MC-3 USB in the Living Room system, I have moved the FARAD Super 3 to the server and put a Shanti on the Pi4 up there.
I have several more experiments in the works that will require adjusting my power supply configurations.
I would like you to recognize that I understand the emotional challenge of using an $800 power supply on a $75 computer. Right now, I would put a Farad Super 3 on every Streamer. Yet the Allo Shanti at around $160 is pretty amazing. I want to re-wire the outputs of the Shanti supply with better and shorter DC cables to see how that improves power delivery and sound quality.
My system with the powered speakers in the basement is running the Canakit wall-wart supply. I will upgrade it to a Shanti or an HDPLEX 200 to see what that does one day. Who says you cannot have a lot of fun using powered speakers!
This wraps up my journey into using the Raspberry Pi 4 as my music compute hardware. I have a lot of ideas to play with and learn about. I am still looking at power supplies and some cabling things. I am testing three devices with either SPDIF or AES out to see how they compare with each other. I am very interested in the CM4 and some of the boards on the market or under development: https://www.pi2design.com/coming-soon.html
One More Thing
An Amateur Radio Supplier, DX Engineering, has developed and sells their DX Engineering ISO-PLUS Ethernet RF Filter. You insert one on each end of a network run to your streamer, for example. A pair is $49.99, and a ten-pack is $239.99. They come with pigtails to hook them up. Get your system stable and yourself comfortable with the sound. Then stick a pair of these in!
Several of us here on Audiophile Style find these improve the Sound Quality of our systems. I have them set up on all three of my streamers.


The following are four PDF documents that contain my settings :


Recommended Comments
Create an account or sign in to comment
You need to be a member in order to leave a comment
Create an account
Sign up for a new account in our community. It's easy!
Register a new accountSign in
Already have an account? Sign in here.
Sign In Now